Fyxation Tech: Bicycle Drive Train Maintenance
With the spring still a ways off and the trainer miles starting to stack up, now is a great time to take a look at that drivetrain. The drivetrain is the heart of your bike and what makes it move forward. Chainrings, derailleurs, chain, and cassette make up the drivetrain and are the parts that keep your wheels turning. They are often taken for granted, that is until something goes wrong. Keeping up with regular maintenance while keeping an eye on wear and tear can help reduce the amount of annoying mishaps you might have throughout the season and will help keep your overall bike maintenance costs down.

Keeping it Clean!
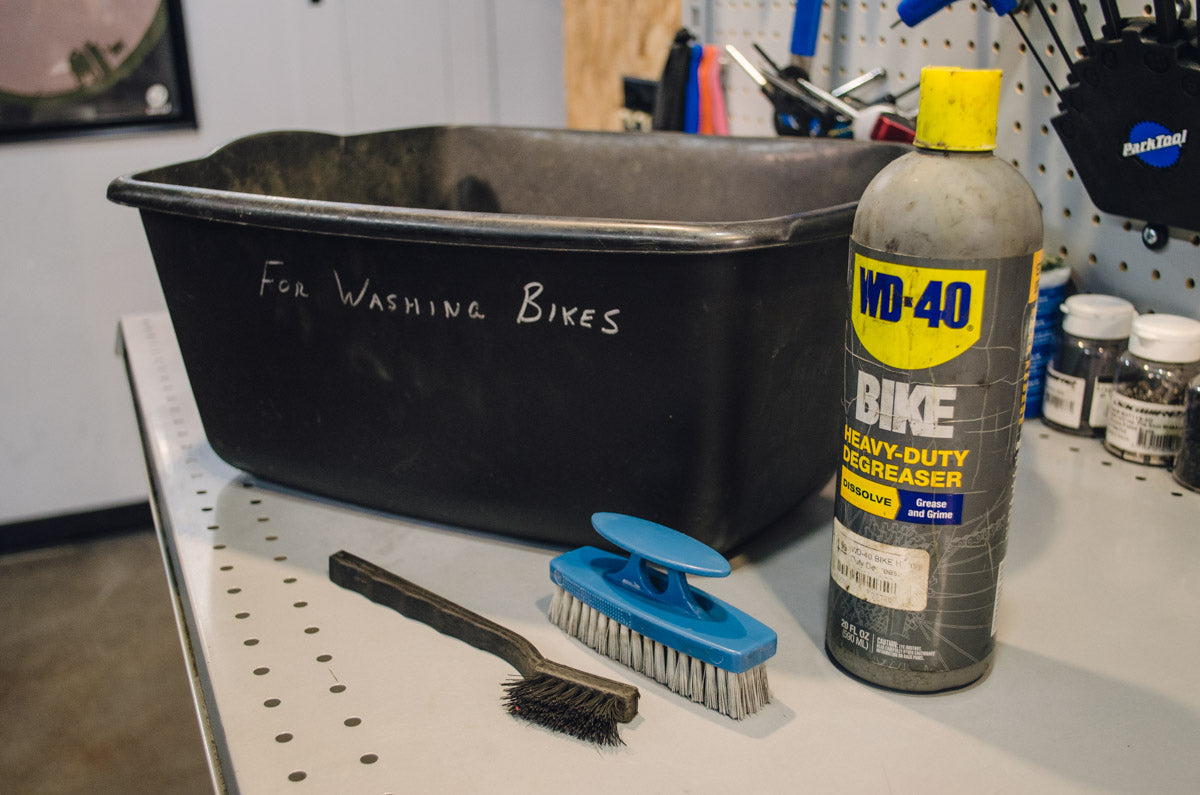
Keeping your drivetrain clean is the best way to lengthen the life all your moving parts. Drivetrains with excess grit and grime wear exponentially faster, reduce shifting performance, and are just downright unsightly. Cleaning your drivetrain is just like anything else, the more you do it the easier it gets. Grab a bucket of warm water and add in some sort of light degreaser, WD40 Bike wash works great, a mild dish soap, or pick up the Park Tool CG-2.3. Use a vegetable brush, rag, and a resilient sponge, or the Park Tool BCB-4.2, to scrub your chainrings and cassette.

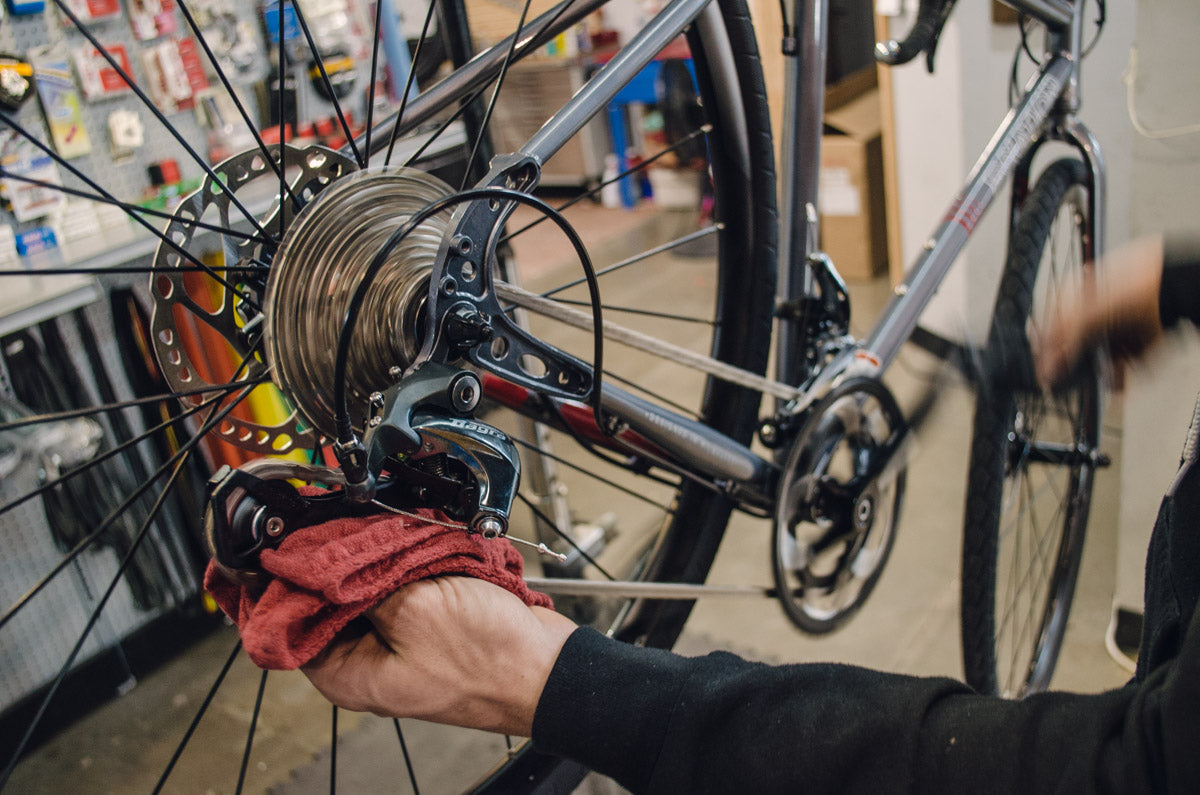
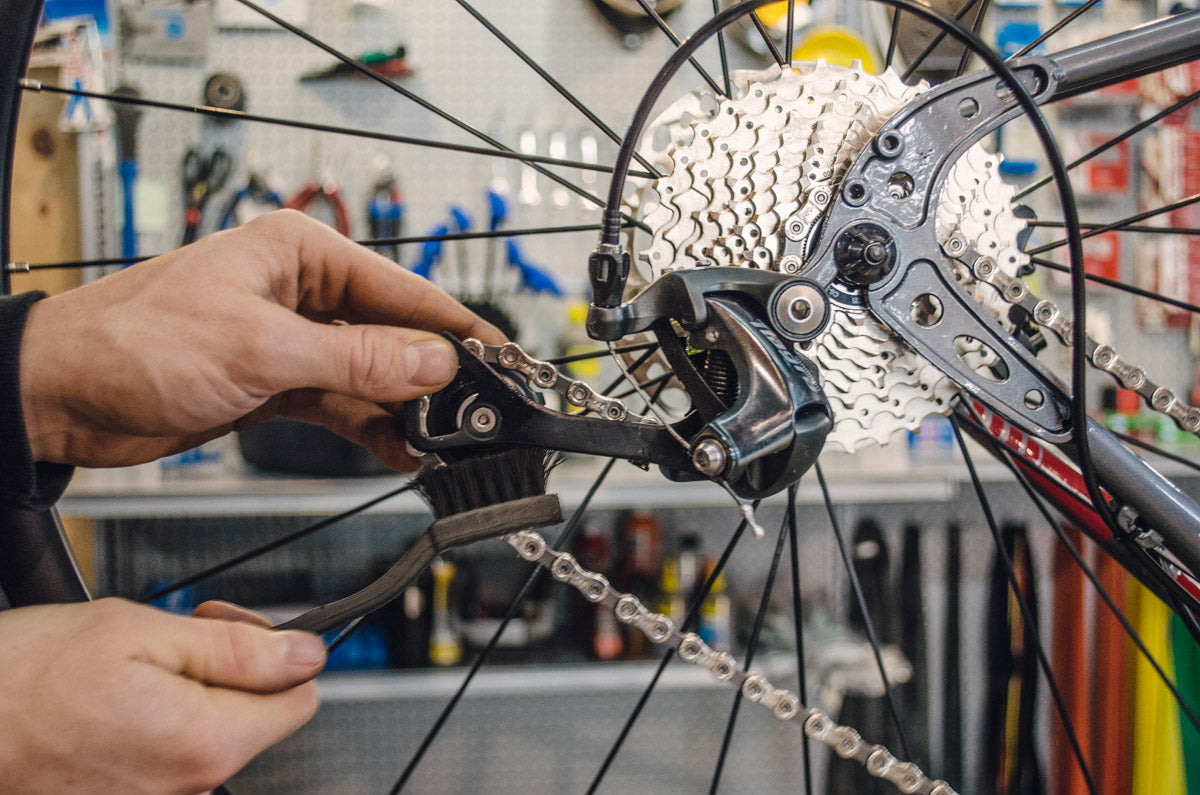
Run the chain through the rag and vegetable brush a few times to remove dirt that may have collected. While spinning the chain, clean off the pulleys on your derailleur. If you have collected a thick layer of grease on your pulleys, use a small flathead screwdriver to scrape off the layer of grease. This also works great on chainrings with layers of grease between them.

Get into your derailleurs with the brush and give them a light scrubbing front and back. Once finished give it all a good rinse. During the winter this is an easy process to do in the bathtub, you can use your shower to rinse it off (just don’t drag sloppy winter muck all over your house first).

Lube It Up!
Use a dry rag (or compressed air) to dry off your bike and especially your chain. If you really want to drive out all the moisture from your chain, apply some WD40 to the chain and let it sit for about an hour. DON’T FORGET to apply lubricant after the WD40. WD40 stands for Water Displacement #40, it is not a lubricant and will leave you with a dry chain. Next apply one drop of lubricant on each of the rollers of the chain, then wipe off the excess using a clean dry rag. Excess lubricant will attract dirt and grime, wearing out your moving parts much faster. Use a bike specific lubricant such as WD40 BIKE dry or wet lube. I prefer the dry for most conditions it seems to soak in well and it also smells really good. Some other tried and true lubricants are Triflow, T9, and finish line.

Check For Wear!
Checking for wear is usually a quick and simple process. Checking your chain can be done using a chain checker tool such as the Park Tool CC-3.2. This will give you an idea of when you need to replace your chain, if you are beyond 75% worn then it is time to replace. Typically if you replace your chain regularly you can get 2-3 chains out of one cassette. This is situational however, and you should replace your cassette after your second chain as a rule of thumb. Cassettes and cogs wear along with the chain wear and putting a new chain on an old cassette can result in poor shifting performance and chain skip. If your chain is extremely worn or if you are unsure you should replace your cassette.

Checking your chainrings for wear is a bit more difficult as there is no common tool for it. Chainrings last significantly longer than cassettes and cogs as they have more teeth and are typically shifted between less. Look for sharp teeth on your chainrings, this is referred to as shark toothed (because it resembled shark teeth). If your chainring’s teeth are very pointy or when the chain sits on the chainring you can see space between the chainring and chain that is a good indicator you need to replace. Replacing chainrings is typically done less than once a year unless you are running a 1x drivetrain, single speed, or putting in a lot of miles (10k-15k+).

As with any new skill it gets easier the more you do it. If you make cleaning your drivetrain part of your regular ride routine it should only take 10-15 minutes and will lengthen the life of your wearable parts as well as maintain that “new bike” performance. If you have any questions or concerns about your maintenance needs feel free to send us a message on our live chat or reach out to us at info@fyxation.com.
Words: Lead Tech - Steve Mehne
Steve was our first employee here at our shop in Milwaukee and is a member of our service and sales team. He has been an avid cyclist his entire life and took up an interest in mechanics in high school while working for a small locally owned bike shop. It wasn't until 2012 that he became a full time mechanic and has been turning wrenches ever since. His interests other than bikes include coffee, camping, and the occasional fermented beverage.


Leave a comment